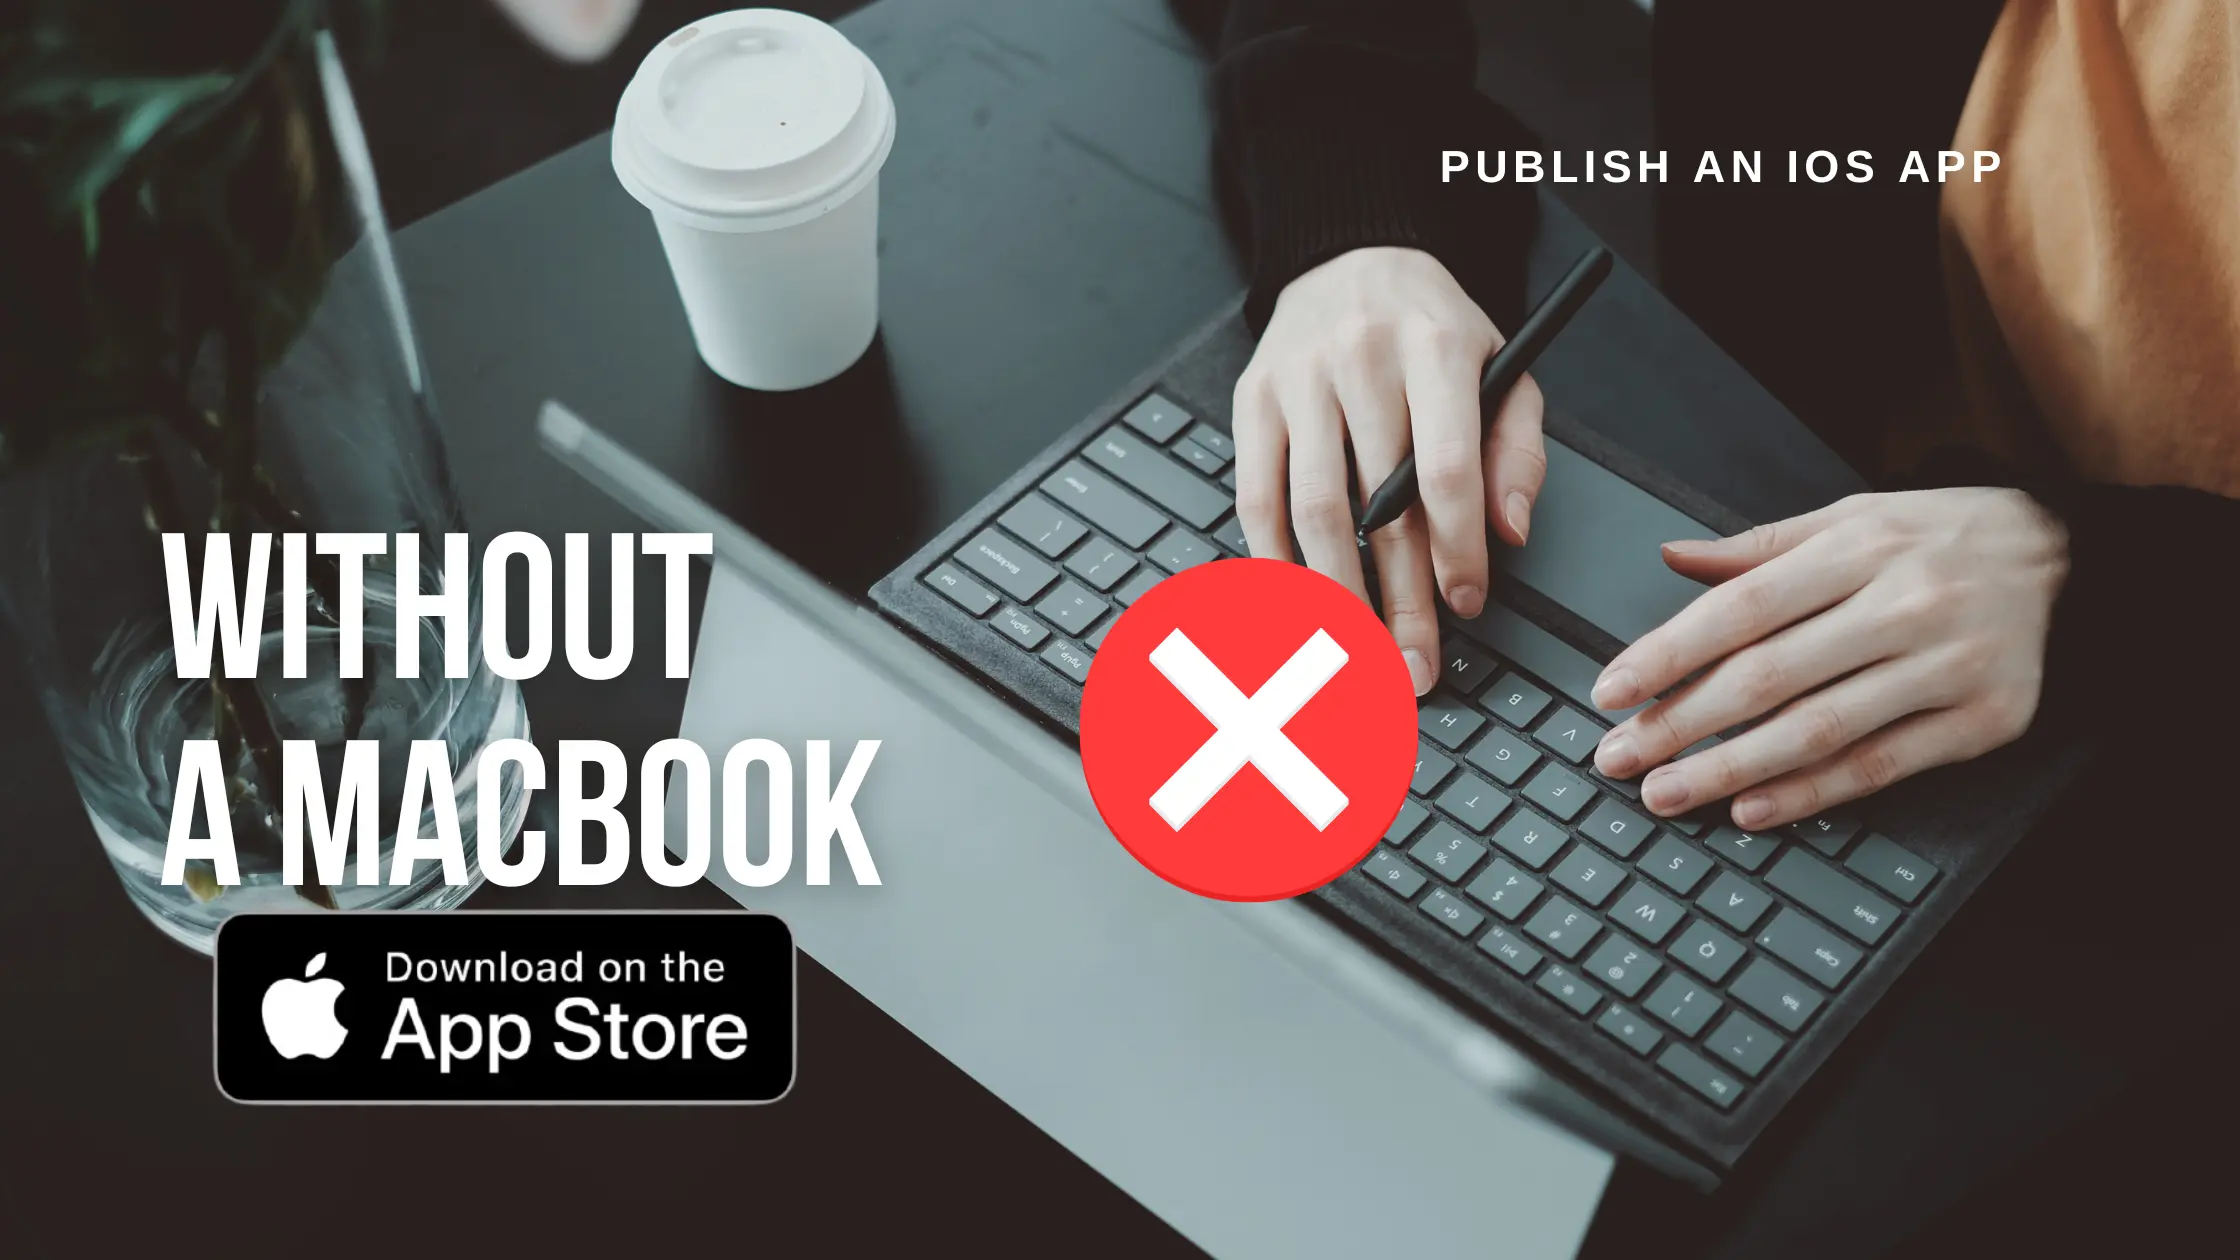
Apple's tools officially require macOS, which leaves Windows and Linux users stuck — or so it seems. The truth is you can publish a fully signed iOS app to the App Store without ever touching a Mac. Here's how it works in 2026, and the simplest path for non-developers.
Why people think you need a Mac
Building and signing an iOS app traditionally requires Xcode, which only runs on macOS. Signing is the real blocker: Apple insists every app be cryptographically signed with certificates generated in the Apple ecosystem. That's the step that historically forced people to buy a Mac.
Your no-Mac options
There are three realistic ways around it:
- Rent a cloud Mac (e.g. MacinCloud, macOS in CI). Powerful but technical — you still run Xcode yourself.
- Use a CI service like Codemagic or GitHub Actions with macOS runners. Great for developers, overkill for everyone else.
- Use a no-code platform that signs on a managed virtual Mac for you. Zero setup, no Xcode, no certificates to wrangle.
For non-developers the third option wins easily. If you're comparing managed builders, our Glideep vs WebViewGold comparison is useful — WebViewGold ships source code you must compile yourself (Mac needed), while a managed platform handles signing entirely.
Publishing iOS without a Mac, step by step
1. Get an Apple Developer account
Enrol at developer.apple.com ($99/yr). You can do this from any browser — no Mac required.
2. Build your app with a managed platform
Use a no-code converter that offers managed iOS builds. It compiles and signs your app on a virtual Mac in the cloud.
3. Connect your Apple account
Authorize the platform (or hand over an API key) so it can generate certificates and provisioning profiles on your behalf.
4. Submit to App Store Connect
The platform uploads the signed build and submits it for review — or hands you the .ipa to upload yourself via the web-based App Store Connect.
5. Test with TestFlight first (optional but smart)
Before going live, push the build to TestFlight so you and a few testers can try the real app on real devices. TestFlight is managed entirely through the web-based App Store Connect, so it needs no Mac either. It's the safest way to catch issues before Apple's reviewers do.
What about certificates and provisioning?
This is the part that scares people, and it's exactly what a managed platform removes. Instead of generating certificates in Keychain Access on a Mac, the platform creates and stores them for you. You never see a .p12 file or a provisioning profile unless you want to. If you ever switch tools, you can revoke and regenerate everything from the Apple Developer portal in your browser.
Cost and timeline expectations
Here's the realistic picture for a no-Mac launch:
ItemCostTime Apple Developer account$99 / year~1 day to approve Google Play account$25 once~1–2 days to approve No-code build platformFree to startMinutes App Store reviewIncluded1–3 days In other words, the biggest delay isn't the Mac you don't have — it's Apple's review queue, which everyone waits in regardless of their setup.
The Android side: no Mac ever needed
Android has never required a Mac. Any platform can produce a signed APK or AAB from Windows or Linux, and Google Play review is typically faster than Apple's. If you only care about Android, you were never blocked in the first place — see our app deployment guide for the full flow.
FAQ
Can I really publish to the App Store from Windows?
Yes. With a managed build platform that signs on a cloud Mac, your operating system is irrelevant.
Do I still need an Apple Developer account?
Yes — to publish under your own name. The account costs $99/yr and is created entirely in a browser.
Is this against Apple's rules?
No. Cloud Macs and CI runners are legitimate, widely used tools. You're using genuine Apple toolchains, just hosted remotely.
Ready to skip the Mac entirely? Compare the tools that handle signing for you.
Ready to build your app?
Turn your website into a native iOS & Android app in minutes — no code, no Mac needed.
Start for free →